
Contacts
Contacts may only be accessed by Entity Administrators.
Contacts are people involved in administering the program. The entity is the organization submitting the claims and the contact is the person(s) involved in the process who may be contacted or receive notifications. Each entity has one or more contacts. Contacts may need to be updated periodically if individuals join or leave an entity or move into different roles.
Add a Contact
In the navigation panel, select Administration, then Contacts.
Select + New to add a new contact.

In the New Contact pop-up window fill in the fields:
Enter the full name of the contact.
Enter the phone number of the contact.
Enter the email of the contact.
Enter the full address of the contact.
Enter the job function of the contact.
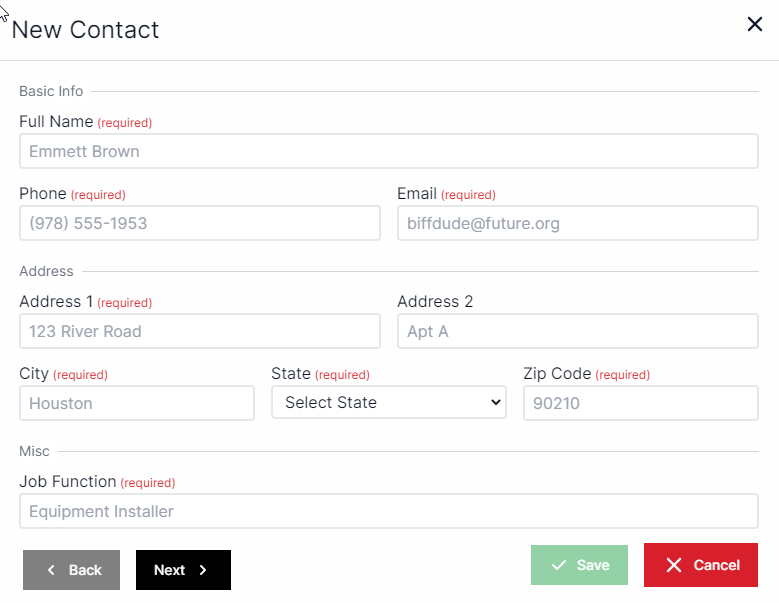
Select Next.
Choose the entity or entities with which the contact is associated from the drop-down box.
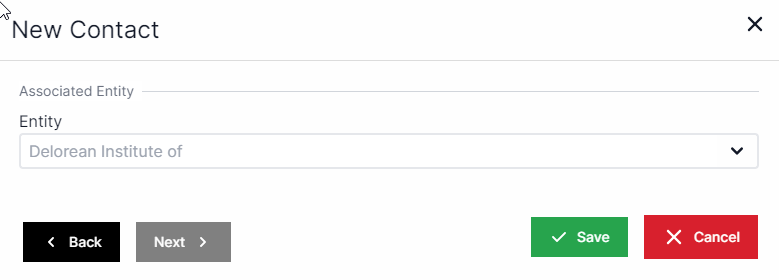
Select Save.
Edit a Contact
In the navigation panel, select Administration, then Contacts.
Select the Edit icon (green pencil and paper) next to the contact you want to edit.

In the Edit Contact pop-up window, edit the fields as needed. Use the Next and Back buttons to navigate between fields.
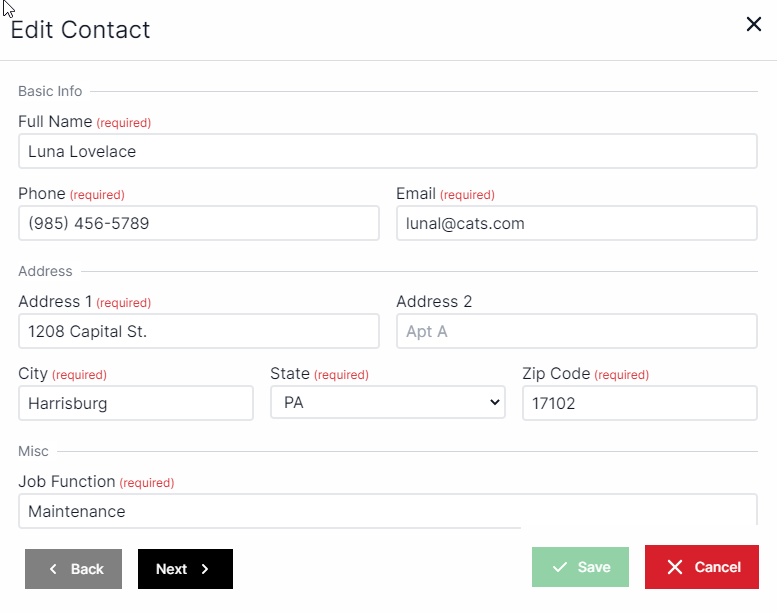
Select Save.
OR
In the navigation panel, select Administration, then Contacts.
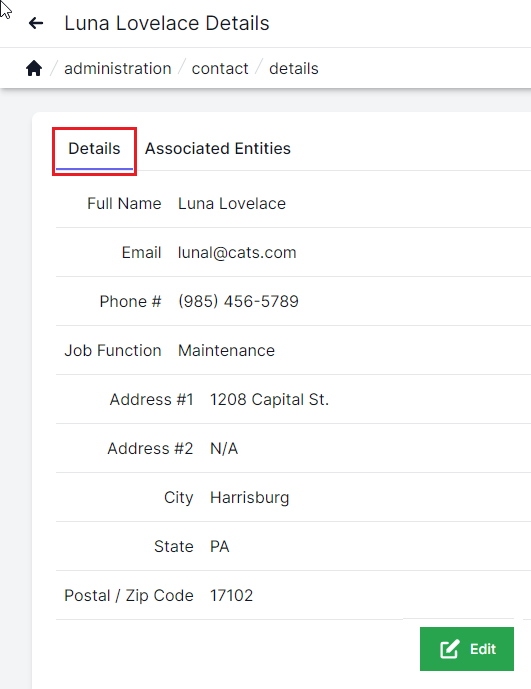
Select the View icon (blue eye) next to the contact you want to edit.

On the Details tab, select the Edit button.
In the Edit Contact pop-up window, edit the fields as needed. Use the Next and Back buttons to navigate between fields.
Select Save.
Delete a Contact
In the navigation panel, select Administration, then Contacts.
Select the Delete icon (red trash can) next to the contact you want to delete.

On the delete prompt, select Yes.