Mass Costs
Mass Costs enables users to add costs for any items that do not have a cost associated with them. This allows for costs to be captured in real time but entered with a 0 amount and the cost to be filled in at a later date. The functionality for Mass Costs includes adding an hourly rate to items, dividing a total amount among items, and adding a specific cost to many items. Mass Costs can be used for costs divided by a flat cost amount, dividing a percentage of a salary, when final costs for services are not determined until the end of the month, and much more.
A line item will only show up as Mass Costs and be searchable if it is entered with a cost of $0 unless the Only Include Zero Costs toggle under Advanced Options is toggled off.
Search for a Mass Costs Item
In the navigation panel, select Mass Costs.
Enter search criteria into one or more of the fields.

Select Search.

Advanced Search for a Mass Costs Item
In the navigation panel, select Mass Costs.
Select advanced options.
Check the toggle for the categories you want to include in your search.
Uncheck the toggle for any categories you do not want to include in your search.

Select Search.
Search for a Mass Costs Item by Date
In the navigation panel, select Mass Costs.
Enter the end date before or the end date after for the category for which you want to search. You can use this function to search for any category with the exception of Travel.

Select advanced options.
Check the toggle for the categories you want to include in your search.
Uncheck the toggle for any categories you do not want to include in your search.
Select Search.
Select All Items That Appear in a Mass Costs Search
In the navigation panel, select Mass Costs.
Select the items to which you want to add a cost by using one of the search options.
Choose Select All. All mass costs items that appear in your search will be selected.
Add Cost to All Items
In the navigation panel, select Mass Costs.
Select the items to which you want to add a cost by using one of the search options.
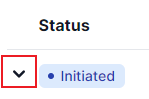
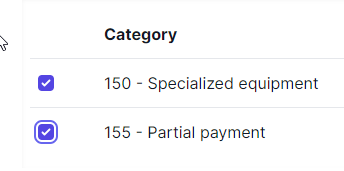
Select the drop-down arrow on the left side of each category status where a record appears.
Check the boxes to the left of each line item to which you want to add a cost.
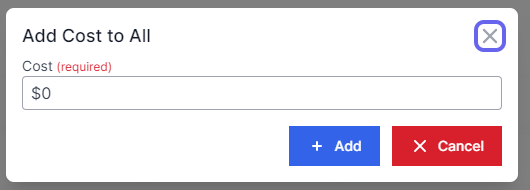
Select + Add Cost to All.
Enter the cost you want to add to each line item in dollars and cents.
Select + Add. The cost you added will be applied to each line item you selected.
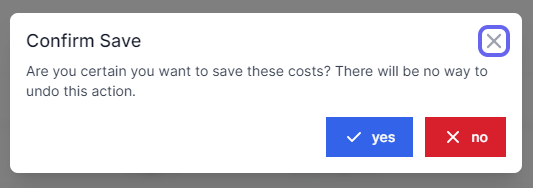
Select Save Costs.
At the prompt, select yes.
Add Cost by Hourly Rate
In the navigation panel, select Mass Costs.
Select the items to which you want to add a cost by using one of the search options.
Select the drop-down arrow on the left side of each category status where a record appears.
Check the boxes to the left of each line item to which you want to add a cost.
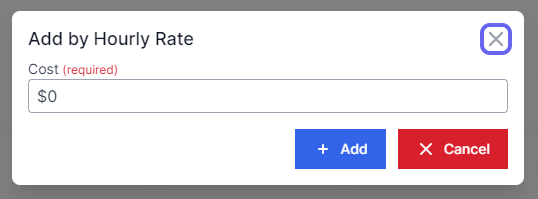
Select + Add by Hourly Rate.
Enter the cost you want to add to each line item by hourly rate in dollars and cents.
Select + Add. The cost you added by hourly rate will be applied to each line item you selected. The hourly rate is calculated based on the number of hours entered for each line item.
Select Save Costs.
At the prompt, select yes.
Divide Cost Across Line Items
In the navigation panel, select Mass Costs.
Select the items to which you want to add a cost by using one of the search options.
Select the drop-down arrow on the left side of each category status where a record appears.
Check the boxes to the left of each line item to which you want to add a cost.
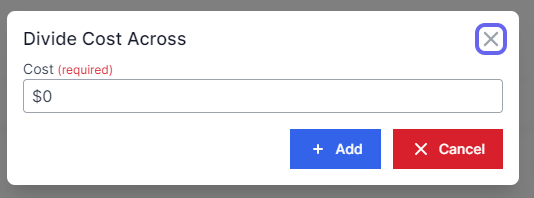
Select + Divide Cost Across.
Enter the cost you want to divide each line item by in dollars and cents.
Select + Add. The cost you entered will be divided evenly to the nearest cent among each line item you selected.
Select Save Costs.
At the prompt, select yes.
Edit a Cost
In the navigation panel, select Mass Costs.
Select the items to which you want to add a cost by using one of the search options.
Select the drop-down arrow on the left side of each category status where a record appears.
Check the boxes to the left of each line item to which you want to add a cost.
Select + Add Cost to All, + Add by Hourly Rate, or + Divide Cost Across.
Enter the cost you want to add or divide each line item by in dollars and cents.
Select + Add.
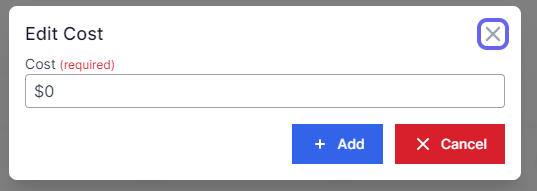
Select the Edit icon (green pencil and paper) to the right of the line item you want to modify.

Enter the cost you want to change the line item to in dollars in cents.
Select + Add.
Reset a Line item to Zero
In the navigation panel, select Mass Costs.
Select the items to which you want to add a cost by using one of the search options.
Select the drop-down arrow on the left side of each category status where a record appears.
Check the boxes to the left of each line item to which you want to add a cost.
Select + Add Cost to All, + Add by Hourly Rate, or + Divide Cost Across.
Enter the cost you want to add or divide each line item by in dollars and cents.
Select + Add.
Uncheck the box to the left of the line item to reset it to zero.

Add an Attachment to All Selected Mass Cost Items
In the navigation panel, select Mass Costs.
Select the items to which you want to add an attachment by using one of the search options.
Choose Select All OR check the boxes to the left of each line item to which you want to add an attachment.
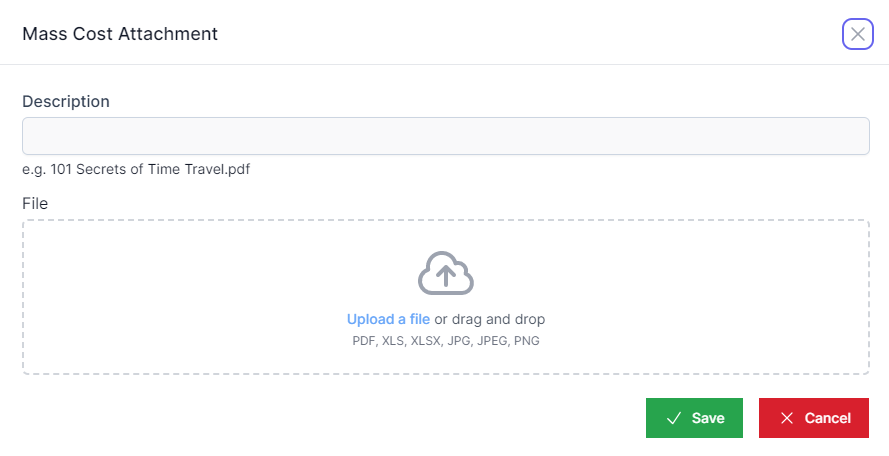
4. Select Add Attachment to All. The Mass Cost Attachment pop-up will appear.
a. Enter a description for the attachment in the description field.
b. Select Upload a file. The file must be a PDF, XLS, XLSX, JPEG, or PNG.
c. Select Open.
d. Select Save. The attachment will be added to all of the files you have selected as line-item attachments.