
Attachments
Attachments are document files (PDF, Word, Excel, JPG, etc. ) that contain supporting documentation for claim reimbursement.
Receipts, invoices, and other proof of costs should be attached to the cost item to which they are related. You can attach a separate file for each cost item or attach a multi-page PDF that includes proof for multiple costs. If it is a multipage PDF, you will need to identify the associated page number(s) for each cost.
Attachments that include ancillary information that may be helpful to the Reimbursement Manager may be added at the overall expense level.
The maximum size available for file upload for any attachment is 13 MB.
Drag and drop for files is currently not available.
Naming PDFs
When saving your supporting documentation as a PDF, we recommend care in naming your files. It is important to name each PDF file with a unique name because of our feature that combines all the PDF files into one single document for the NDBEDP Administrator. If two or more PDF files have the same name, our feature will not be able to distinguish between them and will remove one of the duplicate named files during the process of combining the PDFs.
To avoid losing any important information in this combined PDF, we recommend that you name each PDF file with a different and descriptive name before uploading them to the costs line. This will ensure that all your files are included in the final document without any loss of data.
Add an Attachment for an Individual Cost
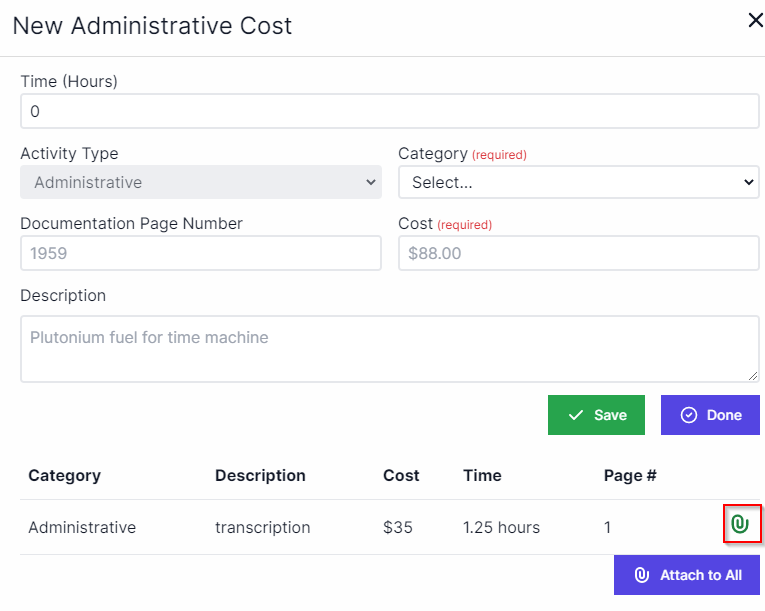
Note: If you have a multi-page PDF that includes documentation for multiple costs, use the Attach to All option and make sure that you have added a page number for each cost.
In the New Administrative Cost pop-up window, select the Attachments icon (paperclip).
Enter a description of the document in the New Cost Attachment pop-up window.
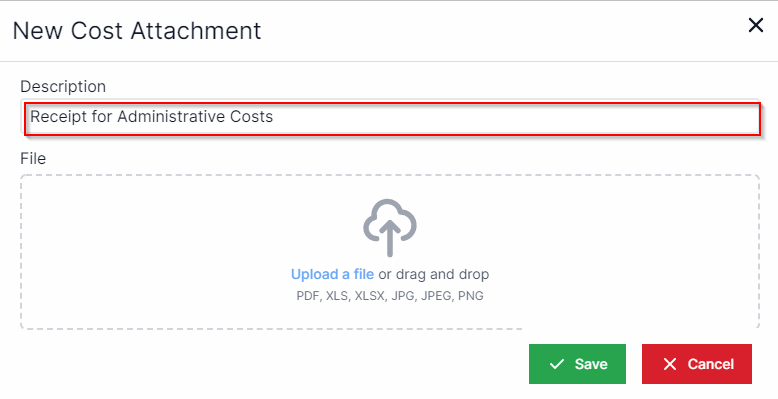
Select Upload a File.

Navigate to the file you want to upload and highlight the name or drag the file over to the Upload a file box. The name of the file you selected will appear in the New Cost Attachment pop-up window.
Select Open.
Select Save.
Select Done.
Add an Attachment for Multiple Costs
Note: If you have a multi-page PDF that includes documentation for multiple costs, use the Attach to All option and include a page number when adding each cost.
In the New Administrative Cost pop-up window, select the Attachments icon (paperclip).
Enter a description of the document in the New Cost Attachment pop-up window.
Select Upload a File.
Navigate to the file you want to upload and highlight the name or drag the file over to the Upload a file box. The name of the file you selected will appear in the New Cost Attachment pop-up window.
Select Open.
Select Save.
Select Done.
Add an Attachment with Ancillary Information
Note: Do not include a multi-page PDF at the expense level that includes individual costs using this method. Instead, attach documentation at the cost level. Use this procedure only for attaching ancillary information.
Select the View icon (blue eye) next to the item to which you want to add an attachment.

Select the Attachments tab.
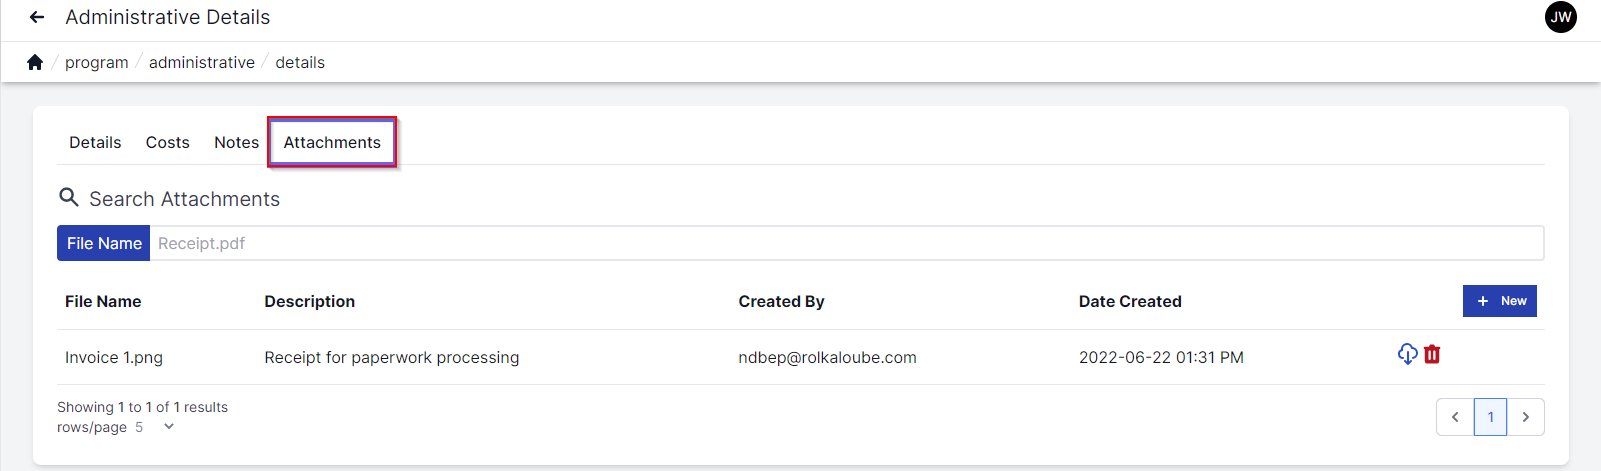
Select + New.

Enter a description of the document in the available text field.
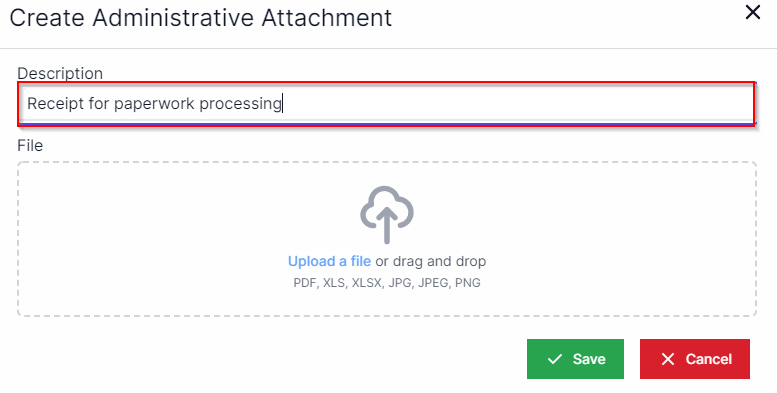
Select Upload a File.
Navigate to the file you want to upload and highlight the name or drag the file over to the Upload file box. The name of the file you selected will appear in the Create Administrative Attachment pop-up window.
Select Open.
Select Save.
For more information on adding costs, see Costs.