
Costs
One or more costs can be added for equipment and services performed within the scope of the program (both program expenses and consumer expenses).
Add a Cost to a New Item
In the navigation panel, select the type of item to which you want to add the new costs.
Select + New to add a new item.

In the new item’s pop-up window, enter the necessary data. Select Next to associate other data to the item if applicable and check add cost after saving. Depending on which item you select, you may or may not see Next on the new item’s pop-up window.

Select Save.
In the New Cost pop-up window, fill in the fields, as needed.
Time spent (in hours), if applicable (See Eligible Expenses for the Centralized Database for a listing of categories that have time requirements.)
Activity Type
Category (See Eligible Expenses for the Centralized Database for a list of categories based on Activity Type.)
Documentation Page Number corresponding to the attachment that you have or will upload for the cost(s), if applicable. See Attachments.
Cost for the line item
Description of the cost
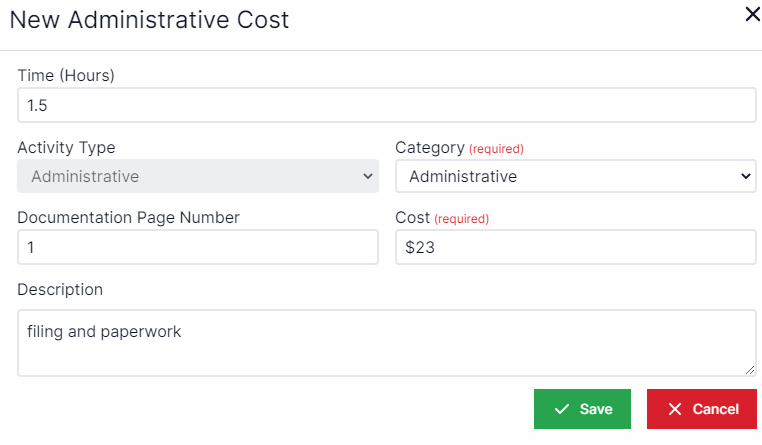
Select Save.
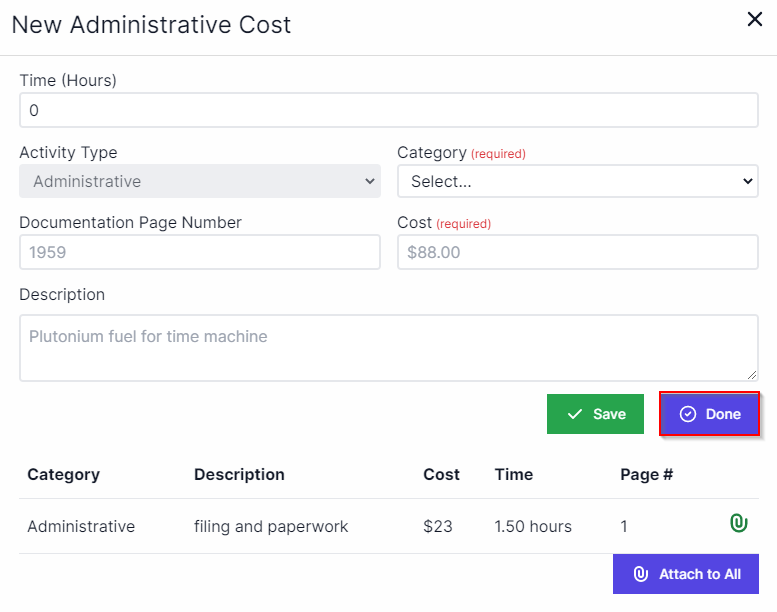
The cost you added will appear in the bottom of the New Administrative Cost pop-up window. From here you can add another cost or an attachment if desired. Select Done when you are finished.
Add a Cost to an Existing Item
In the navigation panel, select the type of item to which you want to add the new costs.
Select the View icon (blue eyeball) next to the item to which you want to add the new costs.

Navigate to the Costs tab.
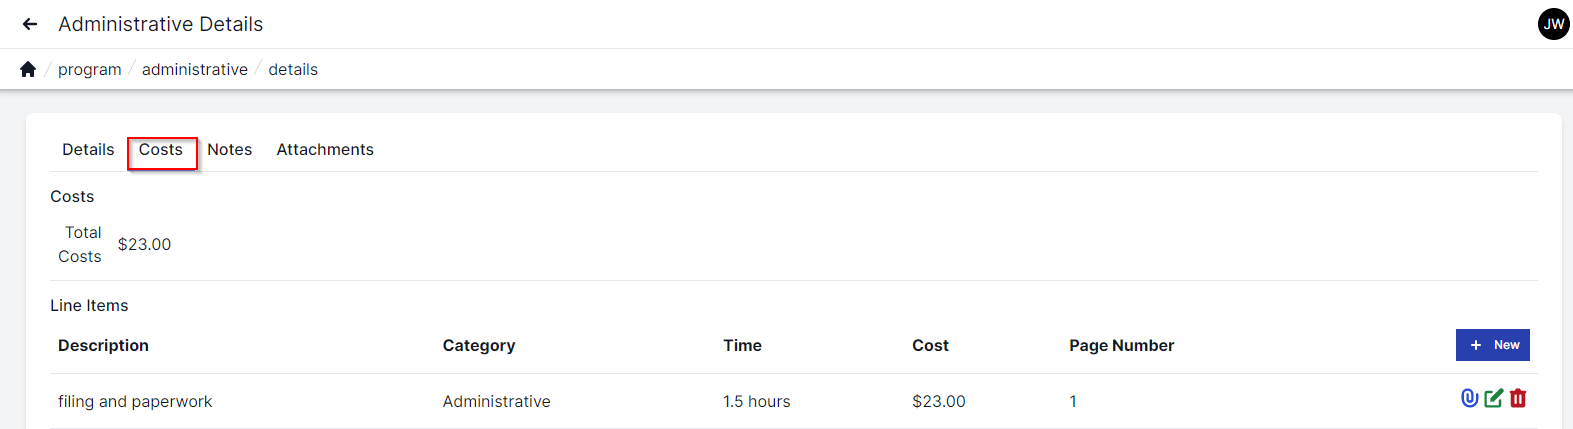
Select +New.
In the New Cost pop-up window, fill in the fields, as needed.
Time spent (in hours), if applicable (See Eligible Expenses for the Centralized Database for a listing of categories that have time requirements.)
Activity Type
Category (See Eligible Expenses for the Centralized Database for a list of categories based on Activity Type.)
Documentation Page Number corresponding to the attachment that you have or will upload for the cost(s), if applicable. See Attachments.
Cost for the line item
Description of the cost
.png?inst-v=6a0249c3-0571-479c-89af-6e1dd4f64684)
Select Save.
The cost you added will appear in the bottom of the New Administrative Cost pop-up window. From here you can add another cost or an attachment if desired. Select Done when you are finished.
Edit a Cost
In the navigation panel, select the type of item for which you want to edit the cost.
Select the View icon (blue eyeball) next to the item you want to edit.
Select Edit.
Edit the information in the fields as applicable.

Select Save.
Navigate to the Costs tab.
Select the Edit icon (green pencil and paper) next to the cost you want to edit.

In the Edit Cost pop up window, edit the information in the fields as applicable.
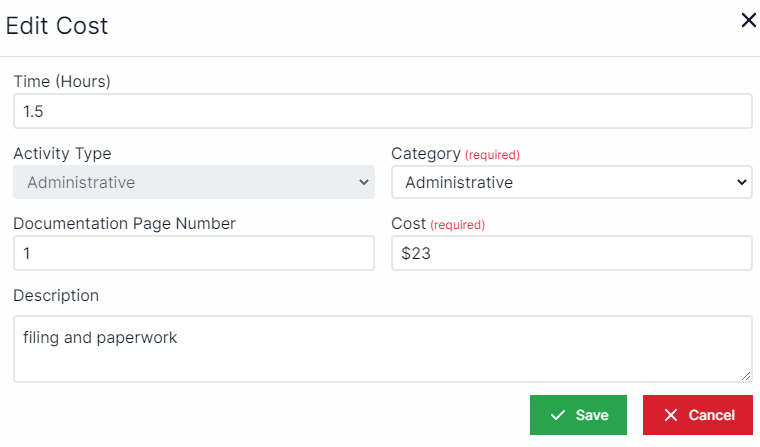
9. Select Save.