
Training
Technicians train consumers on equipment and/or software. Training Expenses include the cost of technician time, instructional materials, auxiliary aids, and train-the-trainer. After adding the training, you will need to add costs related to the training.
Eligible Expenses for Costs related to Training can be found in the Reimbursement Request Filing Instructions or in Eligible Expenses for the Centralized Database.
Search for a Training
In the navigation panel, select Services, then Training.
Enter search criteria into one or more of the fields. The list of trainings will filter based on your criteria.
Sort a Training
In the navigation panel, select Services, then Training.
Select the down arrow to the right of the item you would like to sort by to sort in ascending order.
Select the up arrow to the right of the item you would like to sort by to sort in descending order.
Add a Training
In the navigation panel, select Services, then Training.
Select + New to add a new training.

In the New Training pop-up window:
Select the name of an existing consumer or select + New Consumer from the drop-down box to create a new consumer. See Consumers for more information on creating a new consumer. The State Program field is automatically populated.
Select the name of an existing technician or select + New Technician from the drop-down box to create a new technician. See Technicians for more information on creating a new technician.
Enter the date the training was requested.
Enter the date the training was performed.
Check the box if the training was Train-the-Trainer.
To add costs at the end, check add cost after saving. See Costsfor more information on how to add costs.
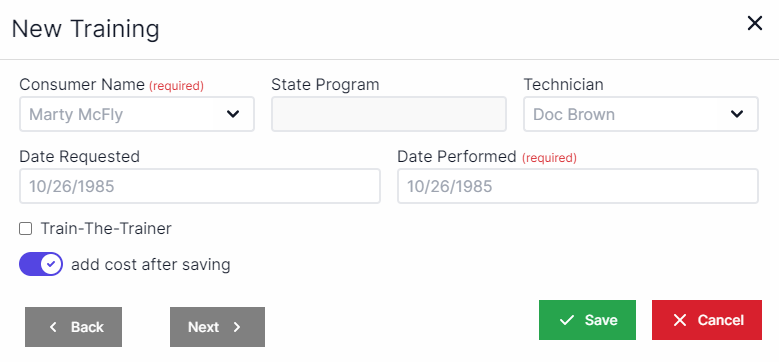
Select Next.
Select one or more equipment items from the drop-down box.
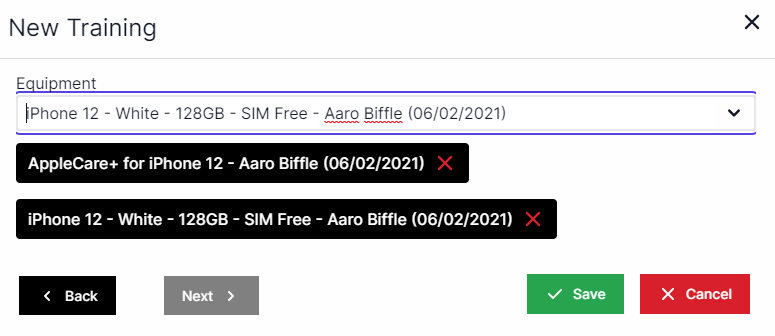
Select Save.
Edit a Training
In the navigation panel, select Services, then Training.
Select the Edit icon (green pencil and paper) next to the training you want to edit.

In the Edit Training pop-up window, edit the information in the fields as applicable. Use the Next and Back buttons to navigate between fields.
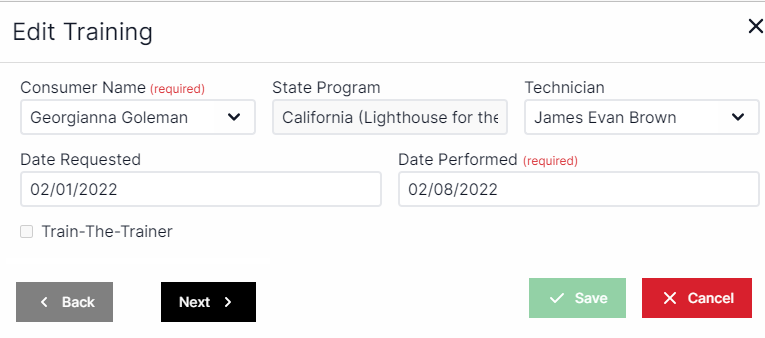
Select Save.
OR
In the navigation panel, select Services, then Training.
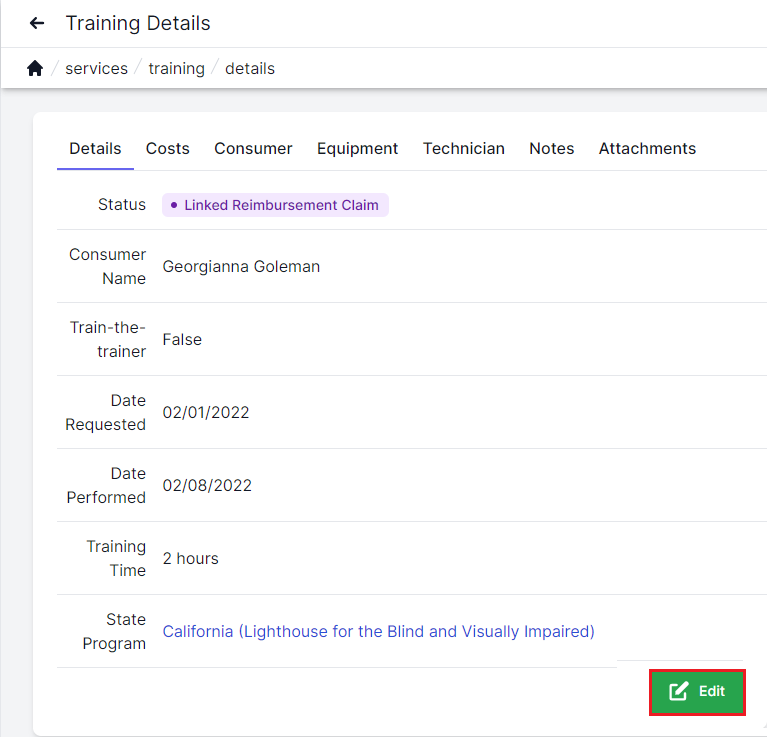
Select the View icon (blue eye) next to the training you want to edit.

On the Details tab, select Edit.
In the Edit Training pop-up window, edit the information in the fields as applicable. Use the Next and Back buttons to navigate between fields.
Select Save.
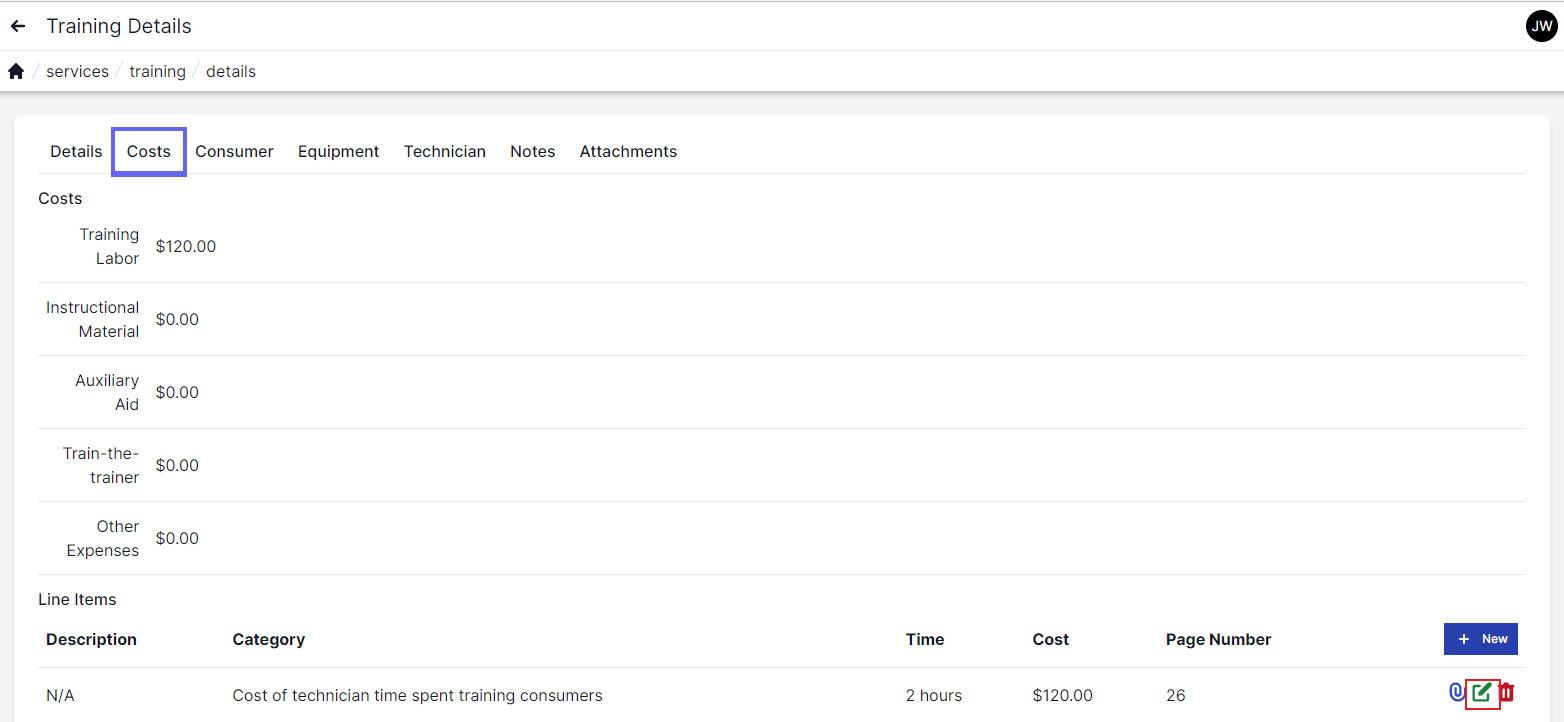
On the Costs tab, select the Edit icon (green pencil and paper) next to the line item you want to modify. See Costs for more information on how to edit costs.
In the Edit Costs pop-up window, edit the information in the fields as applicable.
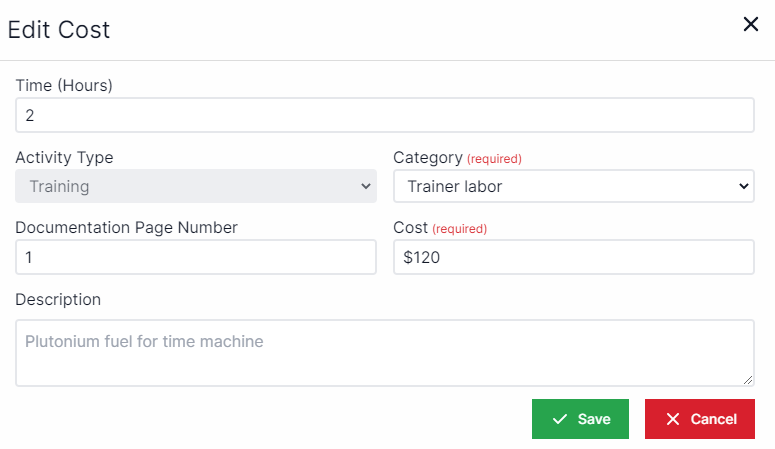
Select Save.
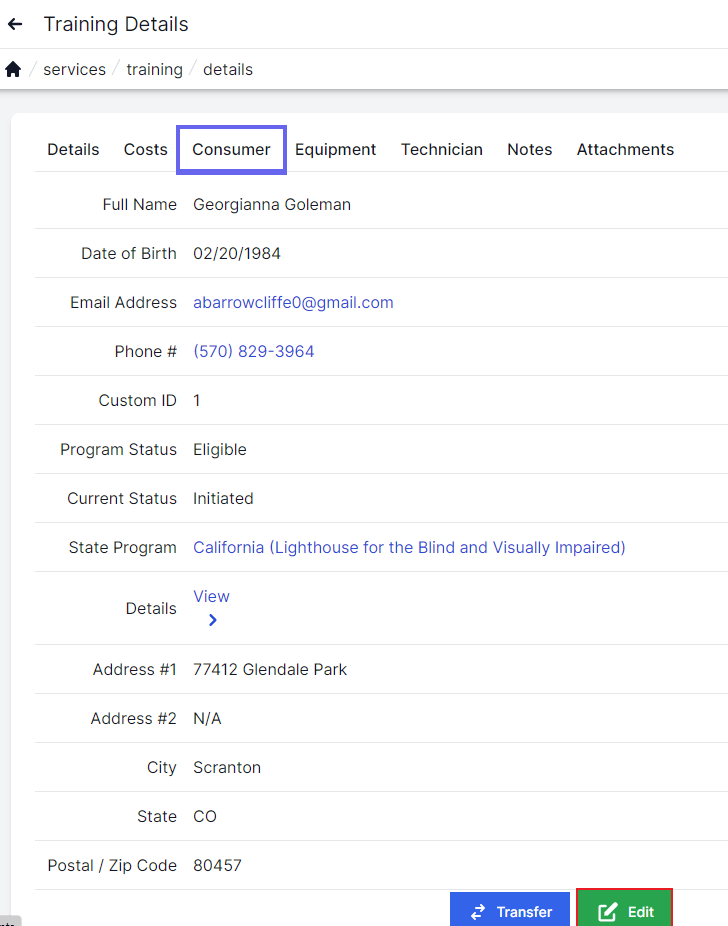
On the Consumer tab, select Edit.
In the Edit Consumer pop-up window, edit the information in the fields as applicable. Use the Next and Back button to navigate between fields.
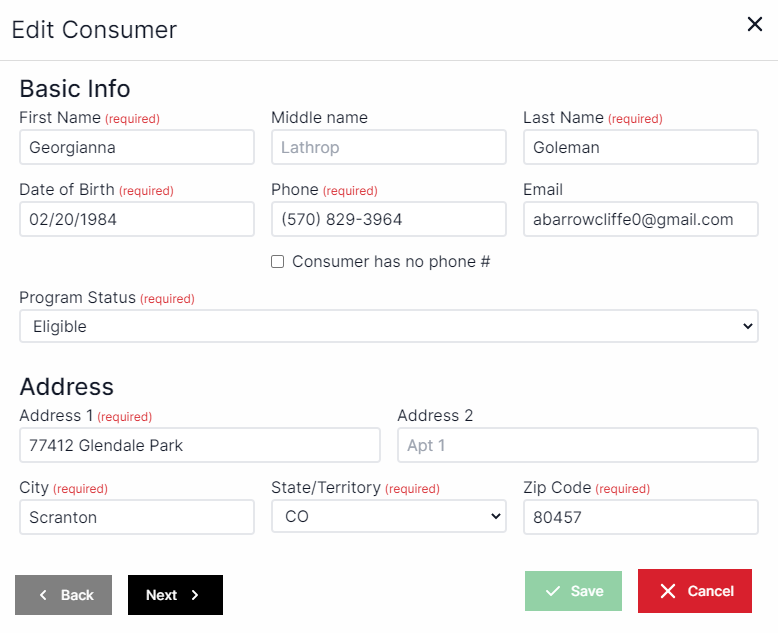
Select Save.
On the Equipment tab, select the Edit icon (green pencil and paper) next to the equipment you want to modify.
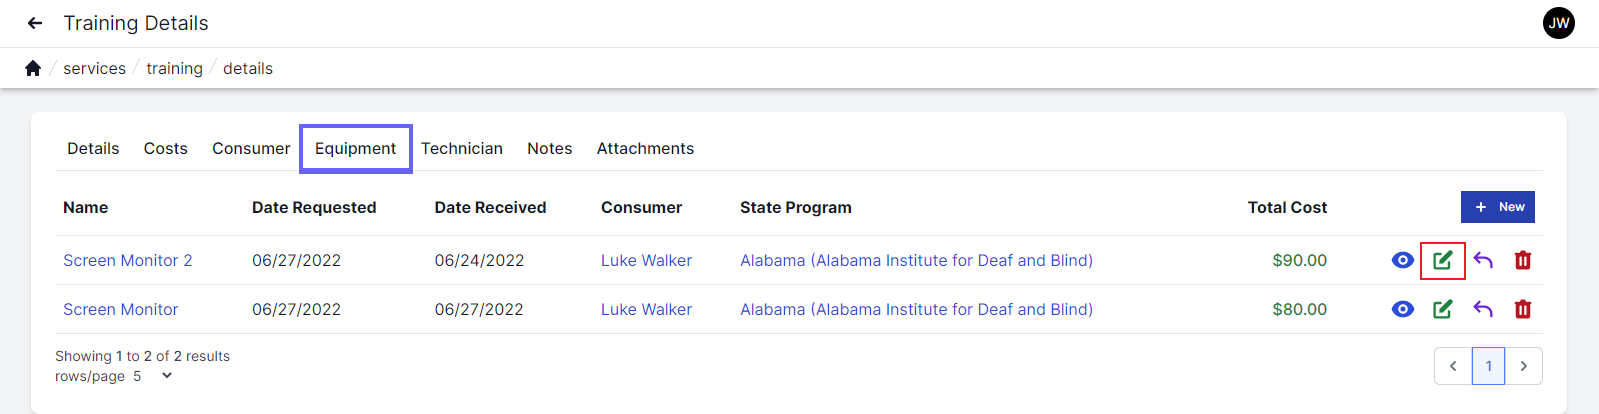
In the Edit Equipment pop-up window, edit the information in the fields as applicable.
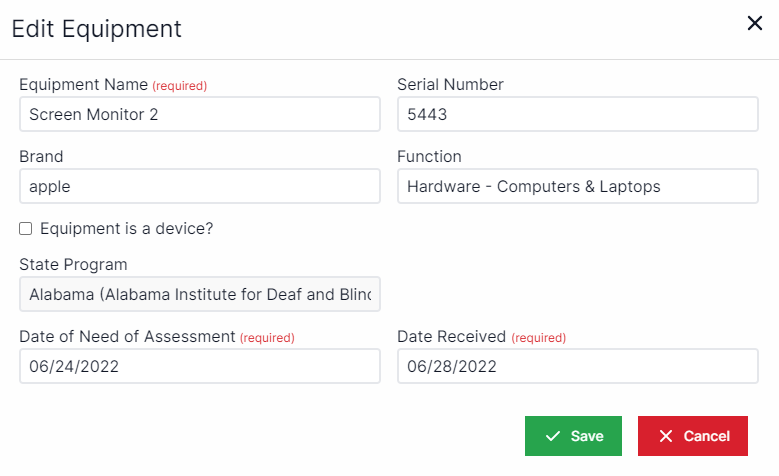
Select Save.
On the Technician tab, select Edit.
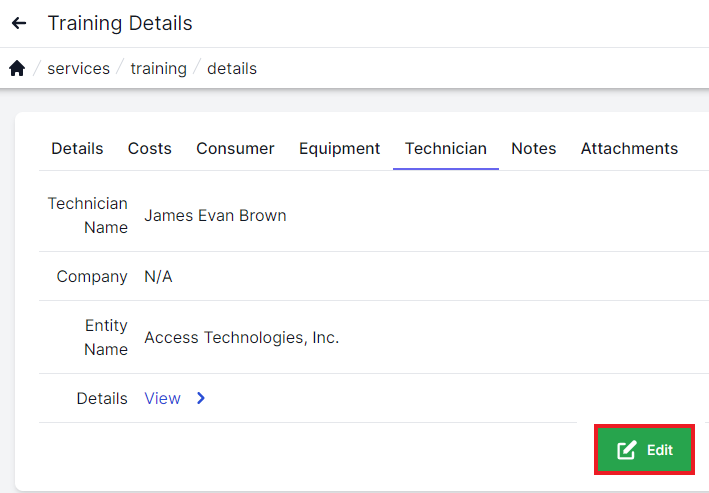
In the Edit Technician pop-up window, edit the information in the fields as applicable.
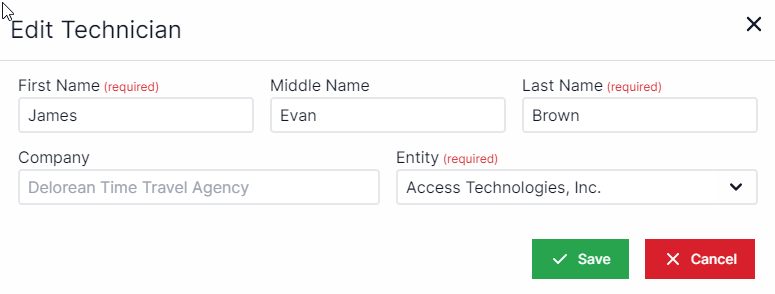
Select Save.
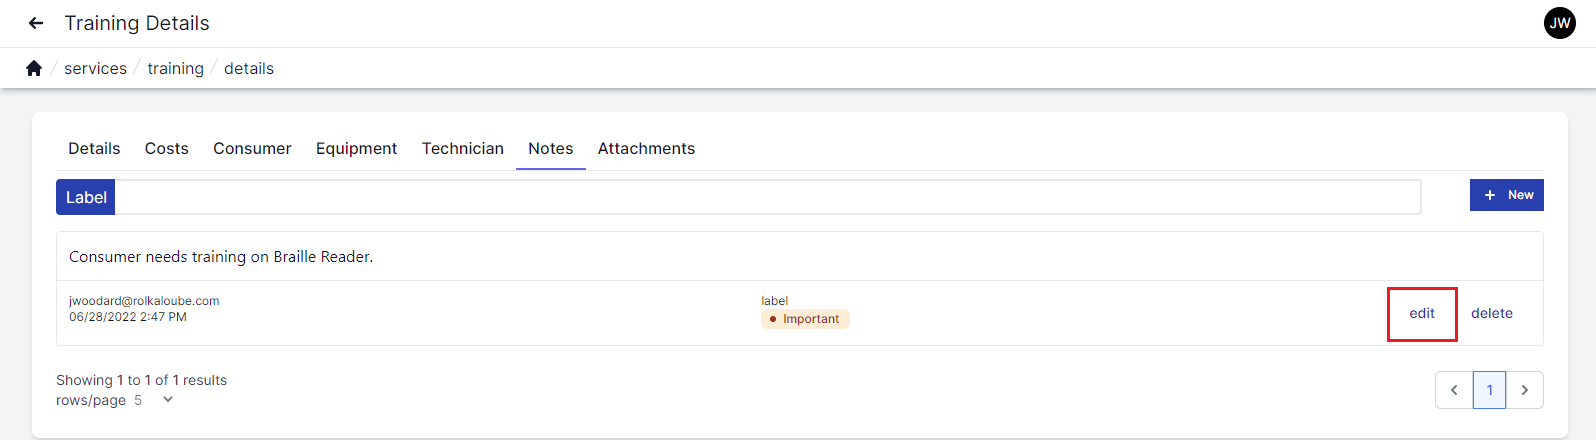
On the Notes tab, select Edit next to the note you want to modify.
In the Edit Training Note pop-up window, edit the information in the fields as applicable. See Notes for more information on how to edit notes.
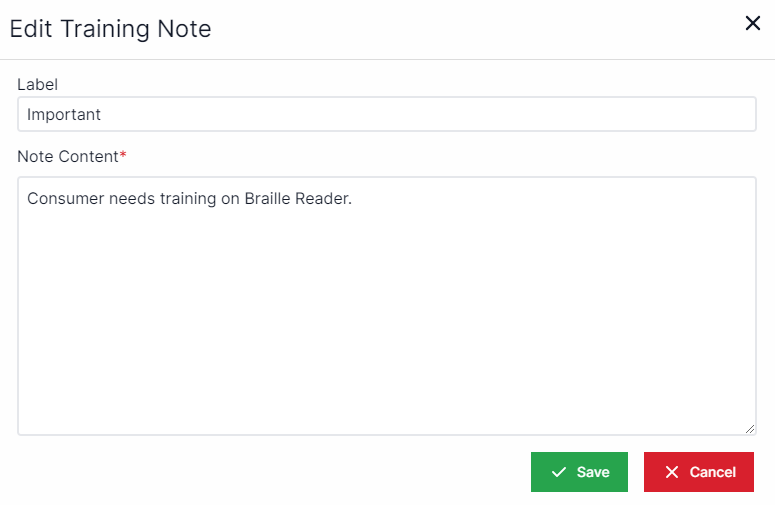
Select Save.
Delete a Training
In the navigation panel, select Services, then Training.
Select the Delete icon (red trash can) next to the training you want to delete.

On the delete prompt, select Yes.
You may also want to add a Note, Attachment, or Cost to your data.